YOUR 40-COLOUR KIT
Make it yours.
A picture. A numbered pattern.Private & free. No account.
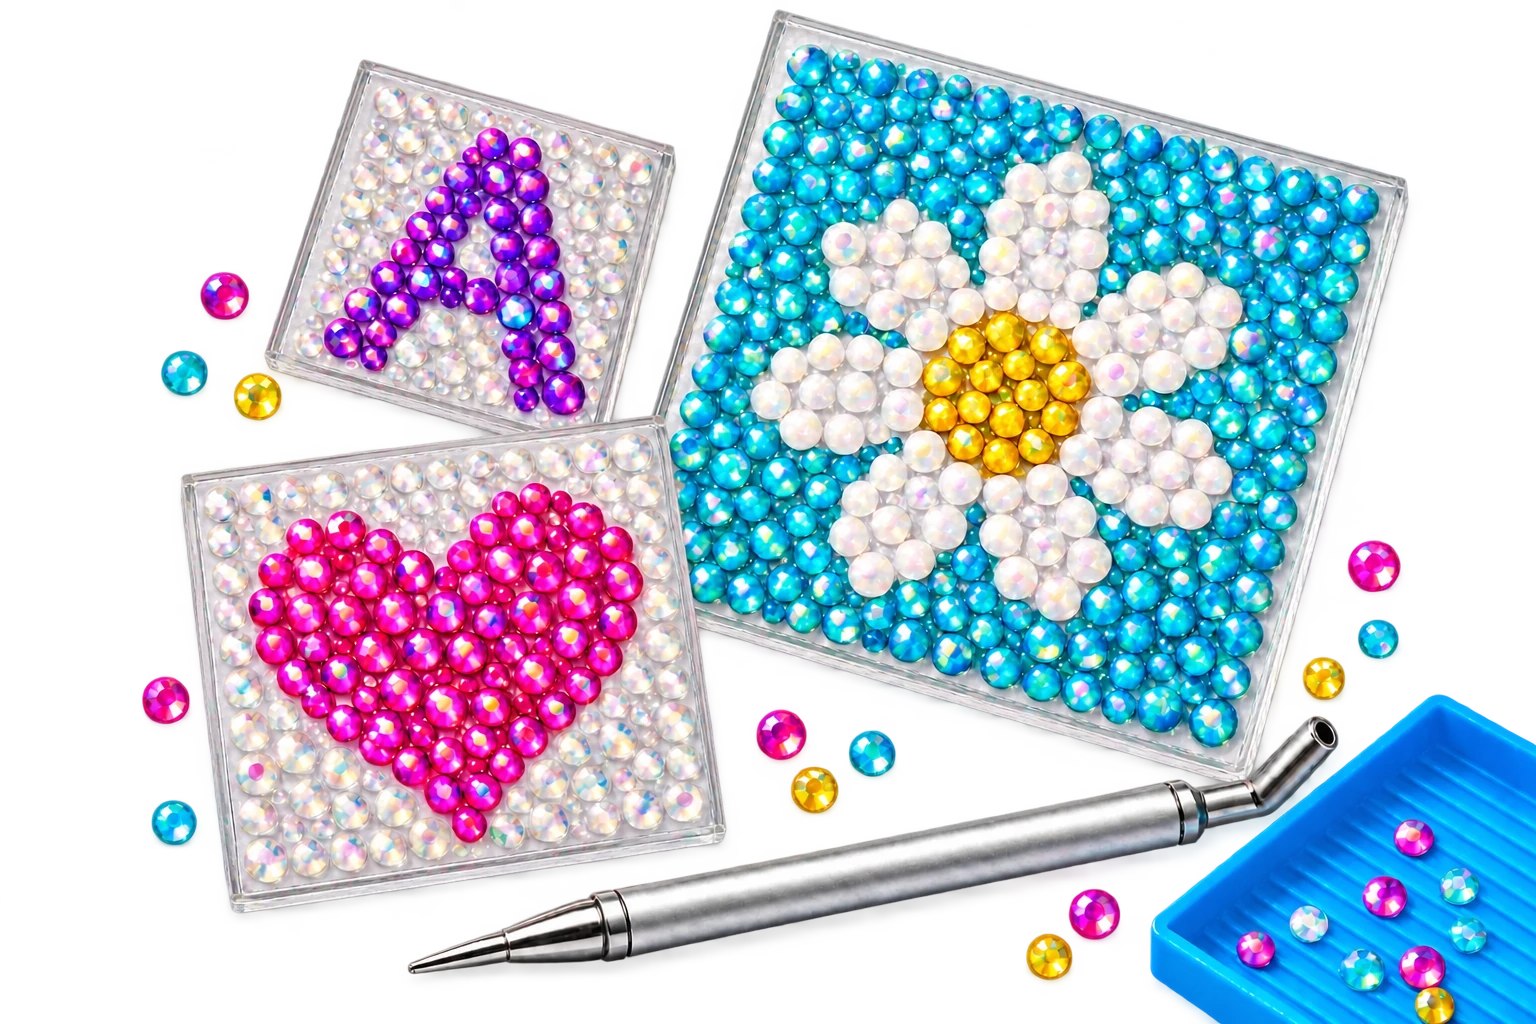
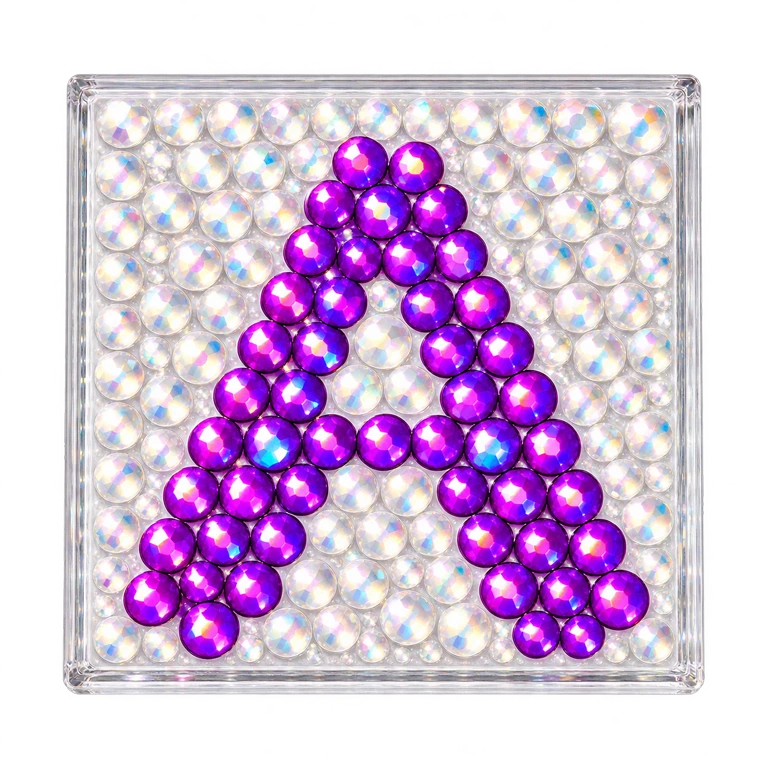
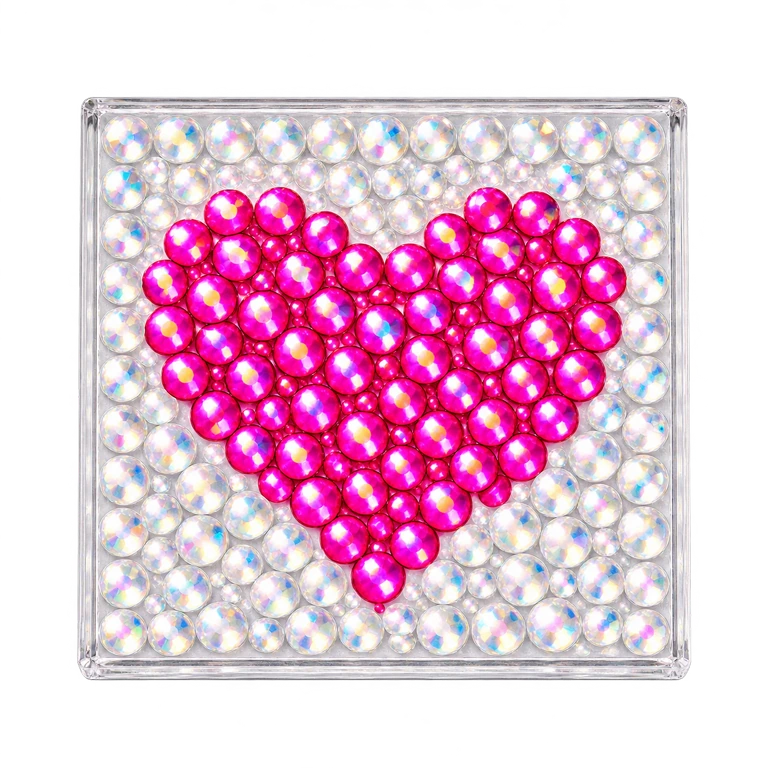
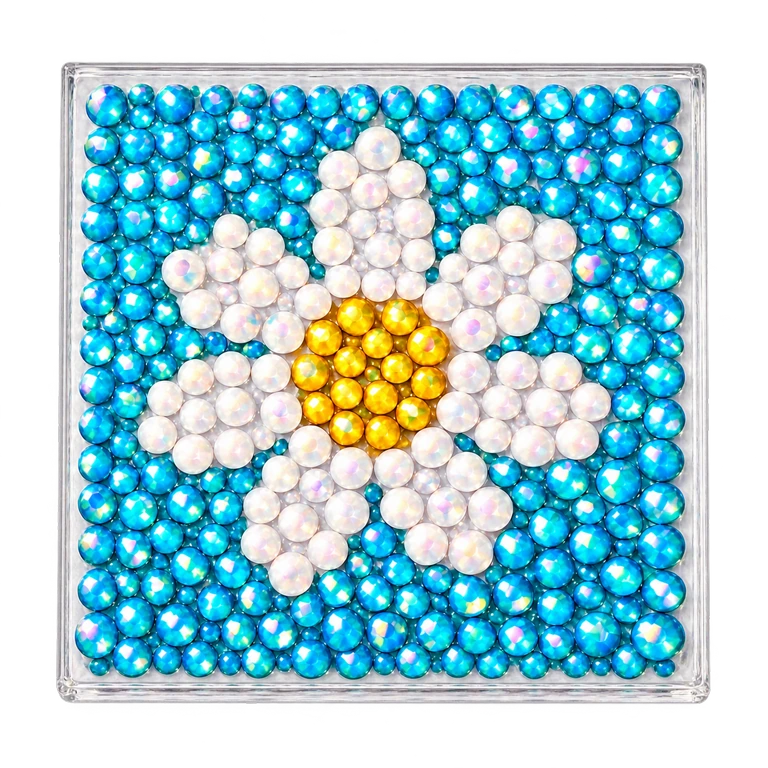
WALLFID / THE 40-COLOUR PATTERN MAKER
Your picture.
Your sparkle.
A photo, a flower, a little piece of you.
Turn it into a numbered pattern for your acrylic board — then bring it to life in rhinestones.
Free to use. No account. Photos stay on your device.
all yours.
SMALL CANVAS. BIG PERSONALITY.
What will you make?
Try a starting point.
Or make something only you could.
Digital pattern examples. Your kit contains blank boards to decorate.
YOUR CREATIVE CORNER
Let’s make a pattern.
40 colours, numbered to match your box.
A clear guide from the first stone to the last.
Your pattern Changes to apply
Whole image kept. Empty edges need no stones.
Your pattern size
Choose a number to find its stones in the pattern.
Small patterns simplify photo details. Try a larger custom size for more detail.
Digital rhinestone preview. Check colours and spacing against your physical kit.
Rhinestone tutorial6 real-photo steps · Glue, prepare your pen, pick and place
MADE BY HAND. SHOWN STEP BY STEP.
Your first stone starts here.
Prepare a clean, dry surface. For acrylic, remove the protective film and secure your checked, actual-size pattern underneath.
Tap a photo to see the detail
01Apply a little glue
Apply a small amount to the area you want to decorate. Work on a small section at a time.
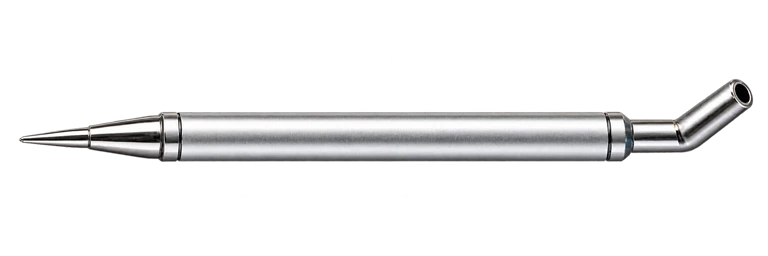
02Find the fine round tip
Use the narrow metal end with the small rounded tip shown here.
03Load the silicone putty
Press the fine tip into the silicone putty and turn it once to pick up a little putty.
04Check the prepared tip
A small amount of putty should cover the rounded end, as shown in the close-up.
05Pick up one rhinestone
Touch the putty to the faceted top of one stone. Keep its flat back facing the glued surface.
06Place, press and lift
Match your pattern and place the whole flat back on the glued board, clear of its edges. Press gently, lift the pen, then let the glue cure.
Silicone putty helps the pen pick up stones. Glue fixes the stones to your surface. Follow the adhesive label for use and curing time.